Converting Your Basement into a Rental Suite

July 27, 2024

If you’re looking to make the most out of your home’s space and generate additional income, converting your basement into a rental suite can be an excellent option. This transformation can increase your property’s value and provide a steady stream of rental income. Here’s a comprehensive guide to converting your basement into a functional and attractive rental suite, brought to you by Basement Renovations London, your local experts in London, Ontario.


Why Convert Your Basement into a Rental Suite?

1. Additional Income

One of the primary benefits of converting your basement into a rental suite is the potential for additional income. With the high demand for affordable housing, a well-designed basement suite can attract long-term tenants, helping you cover mortgage payments or save for future investments.


2. Increased Property Value

A finished basement, especially one that serves as a rental unit, can significantly increase your property’s market value. Potential buyers often see the added suite as a bonus, which can make your home more appealing.


3. Maximizing Unused Space

Basements are often underutilized, serving as storage for seldom-used items. By converting this space into a rental suite, you’re maximizing your home’s footprint and making the most of every square foot.


Key Considerations for Basement Conversion

1. Legal Requirements

Before starting your renovation, it’s crucial to understand the legal requirements in London, Ontario. You’ll need to ensure your basement suite complies with local building codes, zoning laws, and fire safety regulations. This might include installing egress windows, proper ventilation, and smoke detectors. Consulting with a professional renovation company can help you navigate these regulations.


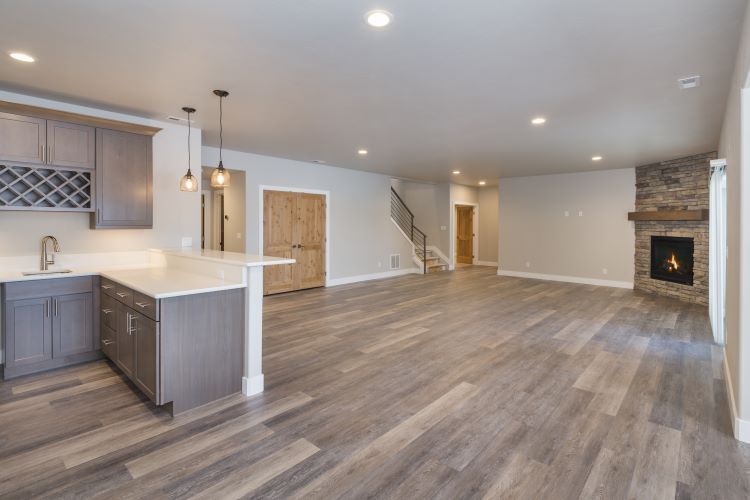
2. Design and Layout

A successful basement conversion requires careful planning of the design and layout. Consider what amenities will make the space comfortable and functional for tenants. This typically includes:

  • Private Entrance: Ensure there’s a separate, private entrance for tenants.
  • Kitchen: A small kitchen or kitchenette with essential appliances.
  • Bathroom: A full bathroom with modern fixtures.
  • Living Area: A cozy living space that can double as a bedroom in smaller layouts.
  • Storage: Adequate storage solutions to keep the space organized.


3. Insulation and Soundproofing

Basements can be prone to temperature fluctuations and noise from the upper levels of the house. Proper insulation and soundproofing are essential to create a comfortable living environment. This includes insulating walls, ceilings, and floors, and using soundproofing materials to minimize noise disturbances.


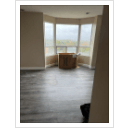
4. Lighting and Ventilation

Basements often lack natural light and ventilation, making it essential to incorporate sufficient lighting and airflow. Large egress windows can provide natural light and serve as emergency exits. Additionally, using a combination of overhead lights, floor lamps, and under-cabinet lighting can brighten the space. Installing proper ventilation systems will ensure fresh air circulation.


5. Flooring and Moisture Control

Choosing the right flooring is crucial in a basement renovation. Opt for moisture-resistant materials like vinyl, tile, or engineered hardwood to prevent issues with dampness. Installing a vapor barrier and sump pump can also help manage moisture levels and prevent water damage.


Steps to Convert Your Basement

1. Plan and Design

Start by creating a detailed plan and design for your basement suite. This includes deciding on the layout, choosing materials, and estimating costs. Work with a professional renovation company to ensure your design meets all legal and functional requirements.


2. Obtain Permits

Before beginning construction, secure all necessary permits from local authorities. This step is crucial to ensure your renovation complies with all building codes and regulations.
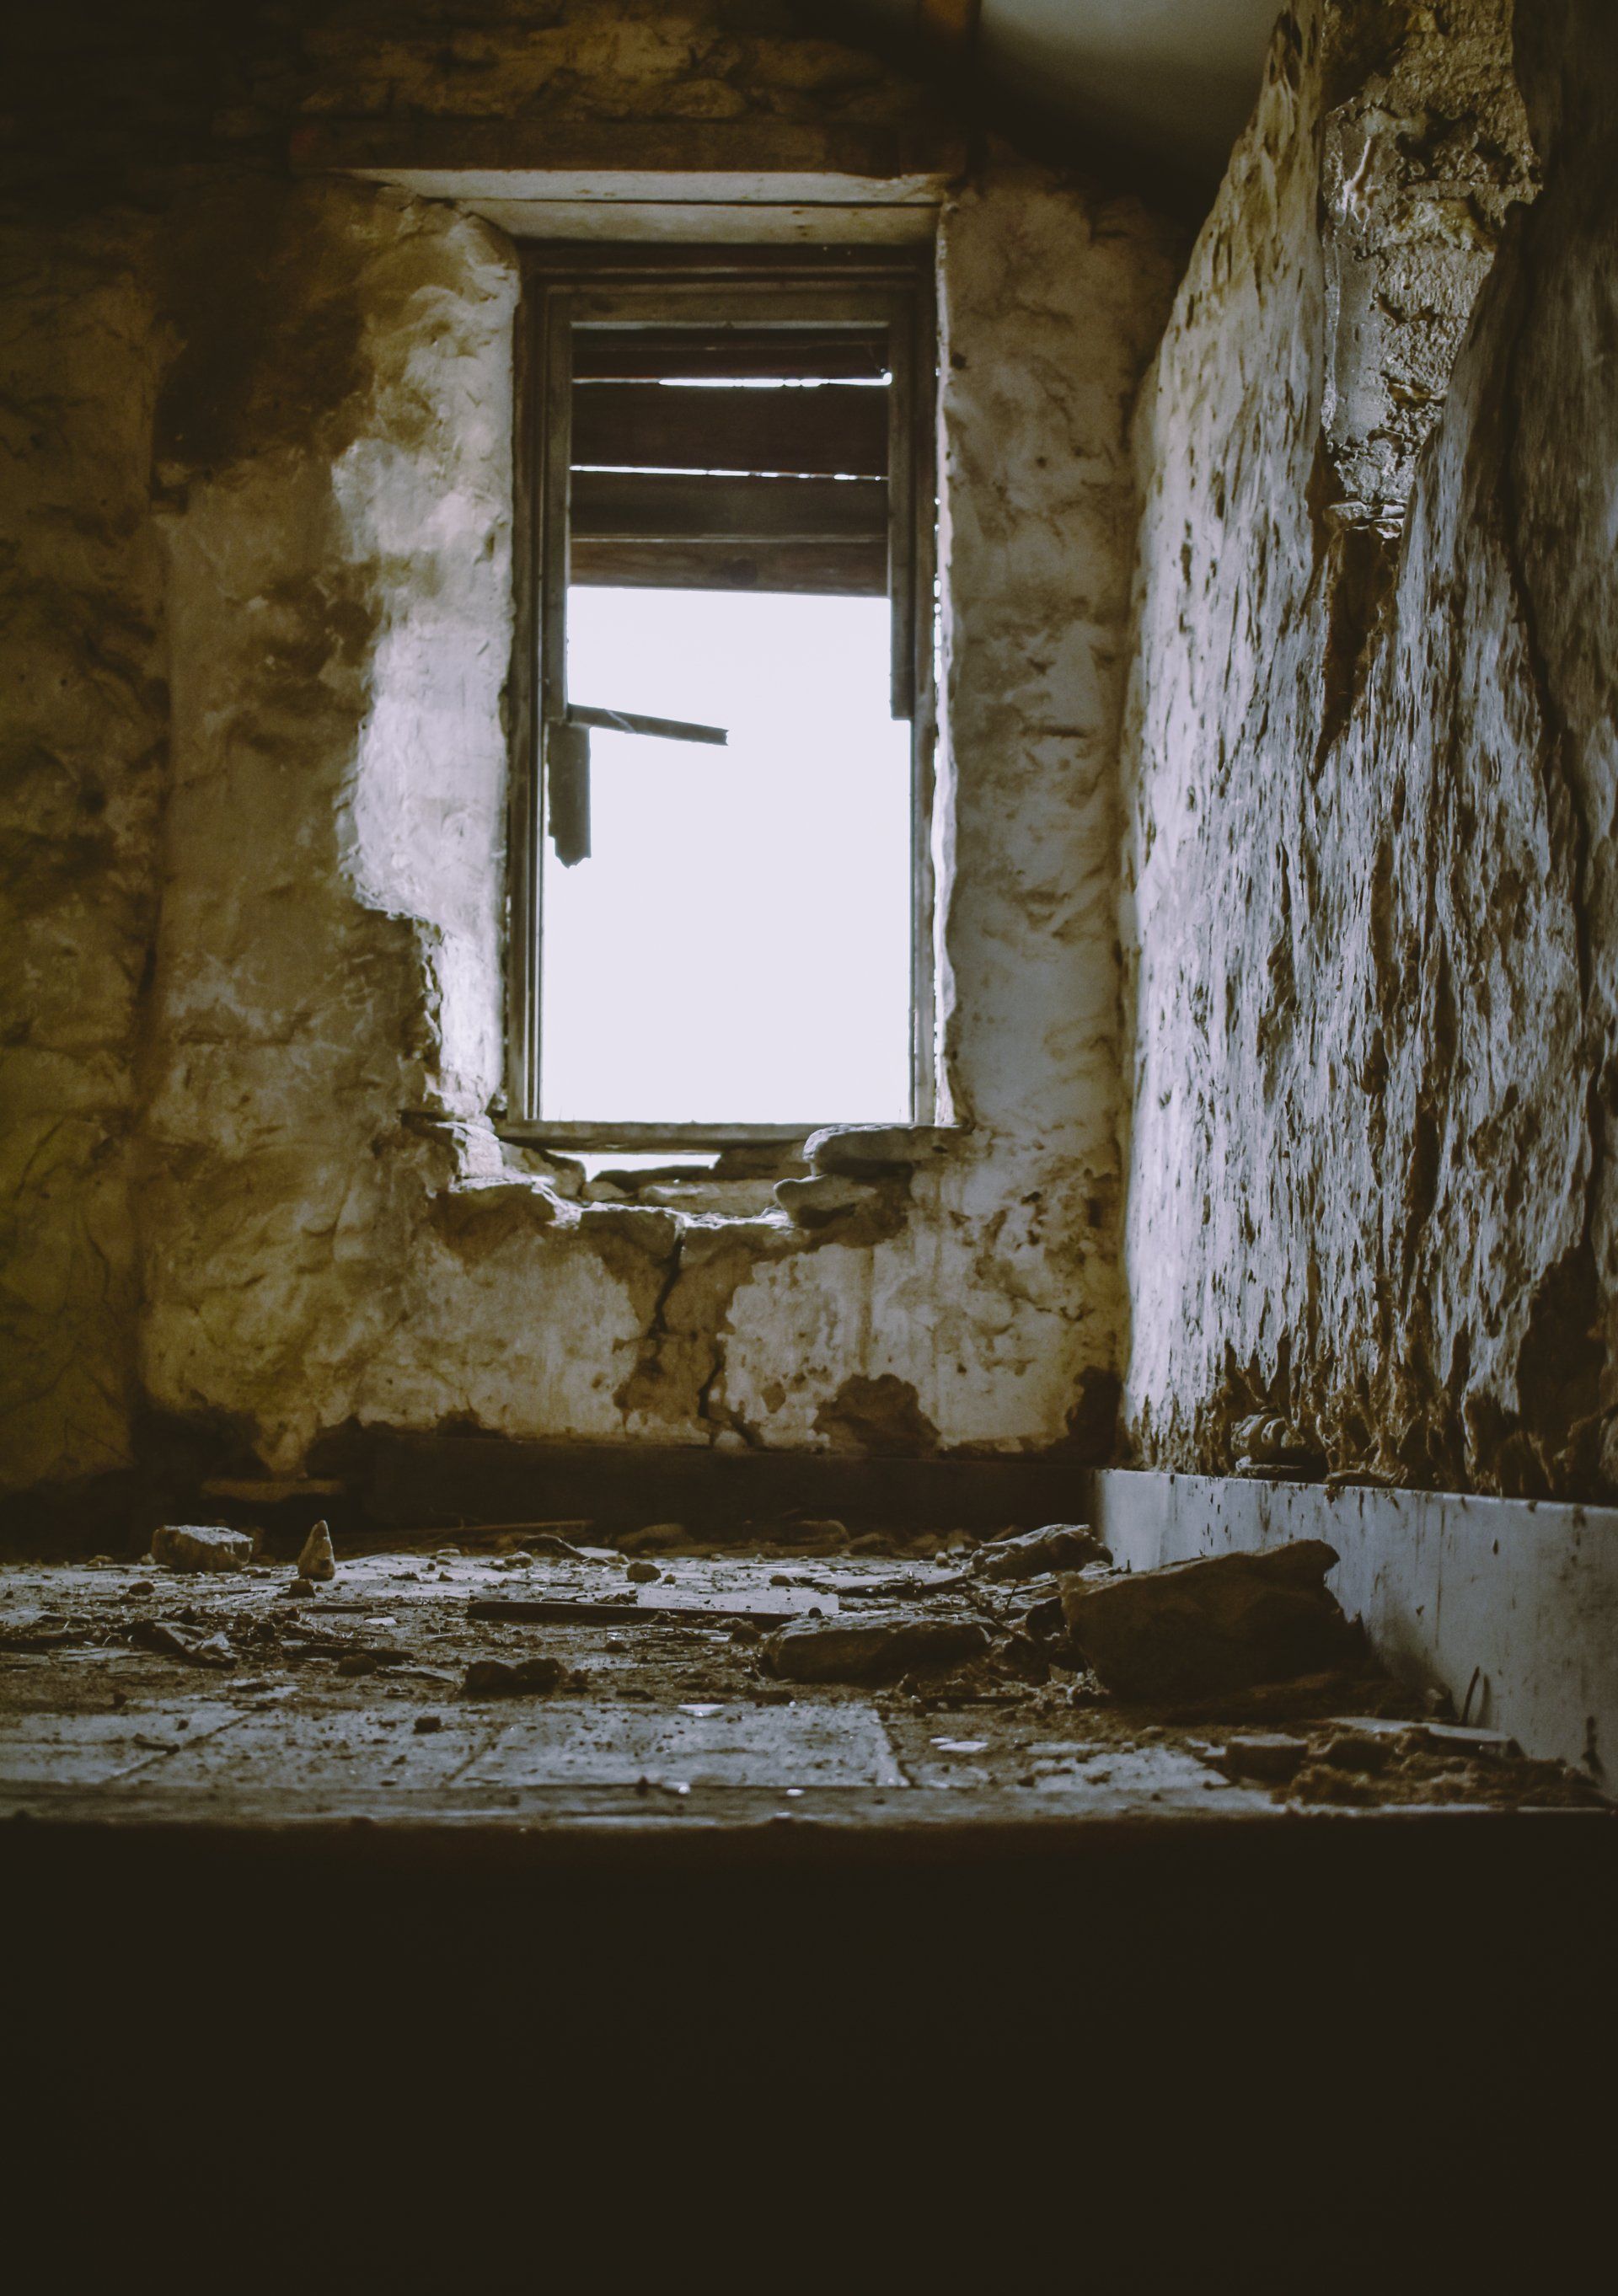

3. Structural Work

Begin the renovation by addressing any structural issues, such as reinforcing the foundation, waterproofing, and installing egress windows. This step lays the foundation for a safe and stable rental suite.


4. Electrical and Plumbing

Next, focus on the electrical and plumbing work. This includes installing new wiring, outlets, lighting fixtures, and plumbing for the kitchen and bathroom. Ensure all work is done by licensed professionals to meet safety standards.


5. Insulation and Drywall

Insulate the walls, floors, and ceilings to improve energy efficiency and soundproofing. Once insulation is complete, install drywall and finish the walls and ceilings.


6. Flooring and Finishing Touches

Choose and install your flooring, ensuring it’s suitable for basement conditions. Add finishing touches like painting, trim work, and installing fixtures and appliances.


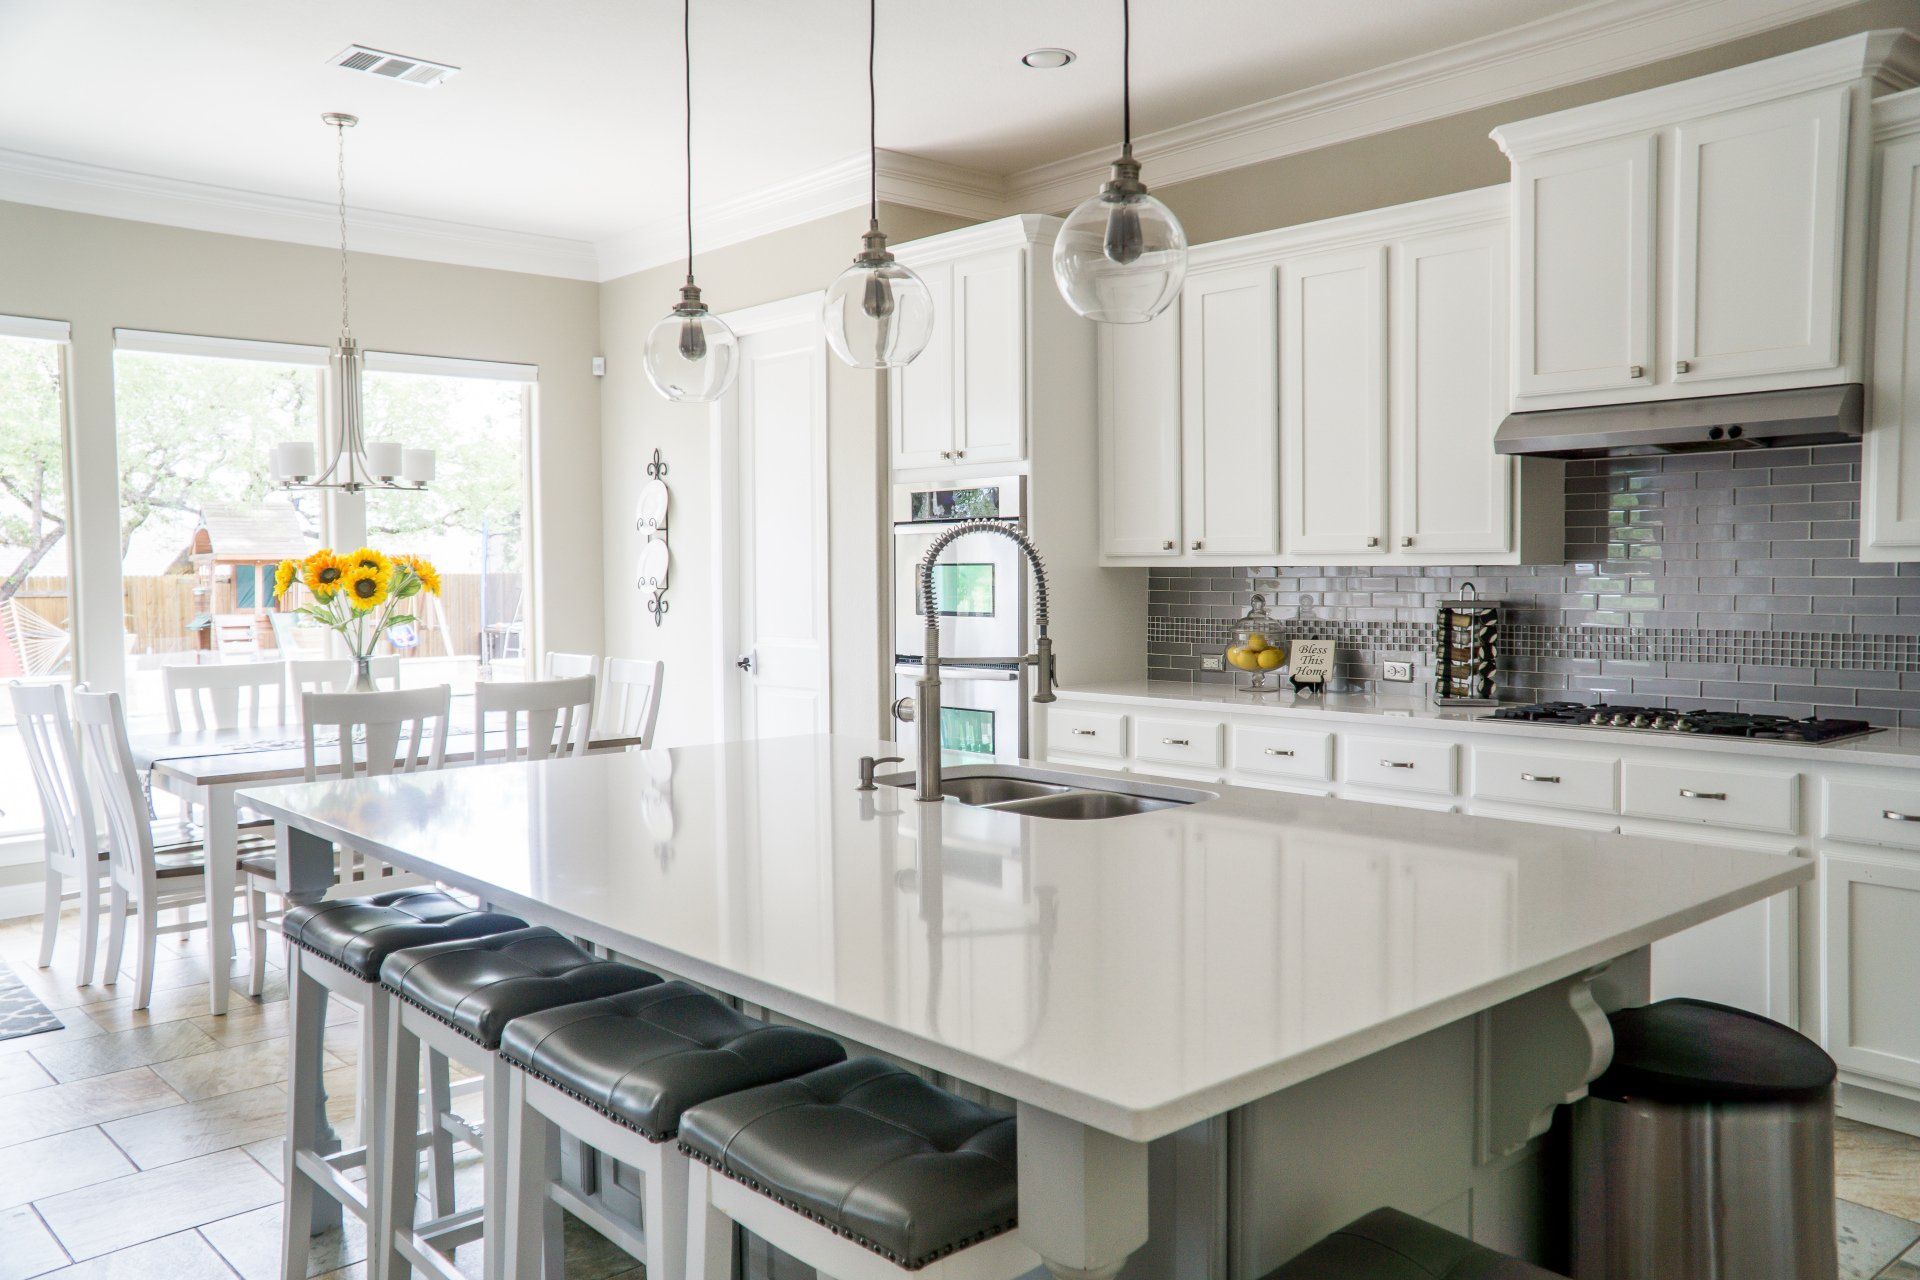
7. Furnishing and Decorating

Finally, furnish and decorate the space to make it inviting for tenants. Choose durable, easy-to-clean materials and consider adding storage solutions to maximize the functionality of the space.


Conclusion

Converting your basement into a rental suite is a smart investment that can provide numerous benefits, from additional income to increased property value. By following the steps outlined in this guide and working with professionals like Basement Renovations London, you can transform your underutilized basement into a beautiful, functional living space.


Whether you’re looking to attract long-term tenants or provide a comfortable space for family members, a well-designed basement suite is a valuable addition to any home.

You might also like

December 2, 2024
Basement renovations are an excellent way to maximize the functionality of your home, and choosing the right windows is a critical part of the process. Basement windows not only enhance natural light and ventilation but also play a key role in energy efficiency, aesthetics, and safety. For homeowners in London, Ontario, selecting the best style of basement windows can significantly impact the success of your renovation. Here’s a guide to help you make the right choice.  Why Basement Window Style Matters Unlike windows in other parts of your home, basement windows often face unique challenges such as limited space, below-grade installation, and moisture exposure. Choosing a style that complements your basement’s needs while adhering to local building codes is essential. Popular Basement Window Styles 1. Hopper Windows Hopper windows are hinged at the bottom and open inward, making them a great choice for basements with limited wall space. Pros : Excellent ventilation. Compact and suitable for small spaces. Provides a tight seal against drafts when closed. Cons : Limited view compared to other window styles. 2. Slider Windows Slider windows glide horizontally, making them ideal for larger basement walls. Pros : Easy to operate. Offers a wider view of the outdoors. Low maintenance due to fewer moving parts. Cons : May not provide as tight a seal as hopper windows. 3. Awning Windows Similar to hopper windows, awning windows are hinged at the top and open outward. Pros : Can remain open during light rain without letting water in. Great for ventilation. Cons : Requires sufficient exterior space to open fully. 4. Egress Windows Egress windows are required by building codes for basements being used as living spaces. They are large enough to serve as an emergency exit. Pros : Essential for safety. Allows ample natural light into the basement. Cons : More expensive to install due to size and code requirements. 5. Fixed Windows Fixed windows do not open but are excellent for providing natural light and enhancing aesthetics. Pros : Energy-efficient due to the absence of moving parts. Ideal for basements where ventilation is not a priority. Cons : No ventilation capability. Factors to Consider When Choosing a Style 1. Purpose of the Basement If your basement is being converted into a bedroom or living area, egress windows are non-negotiable. For storage or utility basements, hopper or fixed windows might suffice. 2. Natural Light Needs Slider and egress windows allow more sunlight, making them perfect for spaces where brightness is a priority. 3. Ventilation Requirements If proper airflow is crucial, consider hopper or awning windows. 4. Energy Efficiency Double-pane or triple-pane glass is recommended for insulation, regardless of the style. 5. Budget Different window styles and sizes come with varying price points. Balancing functionality and cost is key. Enhancing Basement Windows Window Wells : Protect below-grade windows from water and debris while enhancing light. Window Treatments : Opt for moisture-resistant blinds or shades for style and privacy. Security Features : Install locks or reinforced glass for added safety. Why Choose Basement Renovations London? At Basement Renovations London, we understand the intricacies of basement design and window installation. Our team can help you choose, install, and maintain the perfect windows to suit your needs and budget. From meeting local building codes to ensuring flawless installation, we handle it all. Conclusion Choosing the right style of basement windows is more than an aesthetic decision—it’s about functionality, safety, and comfort. Whether you’re looking for increased natural light, improved ventilation, or a safe escape route, there’s a basement window style to fit your space. Contact Basement Renovations London today to discuss how we can help transform your basement into a brighter, more functional part of your home!
November 24, 2024
Basement demolition can be the first step toward transforming an underutilized space into something functional and inviting. Whether you're planning a full renovation or simply refreshing the look of your basement, removing old flooring and walls is often necessary to lay the groundwork. Here are some essential tips for tackling basement demolition effectively and safely. 1. Plan Your Project Thoroughly Before starting demolition, it’s critical to have a clear plan. Identify the areas you’ll be working on, such as specific walls or flooring, and decide whether you’re removing everything or just a section. Evaluate the condition of the materials—old flooring and walls may harbor mold, asbestos, or other hazards that require special handling. Checklist for Planning: Measure the area to estimate material removal. Determine what will stay and what will go (e.g., support walls, electrical wiring). Get the necessary permits if required by local regulations in London, Ontario. 2. Gather the Right Tools and Safety Gear Demolition is hard work and requires specialized tools to complete efficiently. Having the proper equipment on hand ensures a smoother process and minimizes risks. Must-Have Tools: Pry bars: Essential for removing trim and baseboards. Sledgehammers: Useful for breaking through walls. Utility knives: To cut through drywall or carpets. Power tools: Such as reciprocating saws for larger cuts. Safety Gear: Safety goggles and gloves. A dust mask or respirator to protect against debris. Durable work boots with steel toes. 3. Address Potential Hazards Old basements often have hidden issues like lead paint, asbestos in old insulation or tiles, or mold from water damage. Hire professionals to assess the space before demolition begins. Tips for Dealing with Hazards: Test for asbestos and lead before cutting into materials. Use HEPA filters during demolition to minimize dust circulation. Seal off other areas of your home to contain debris. 4. Start with Flooring Removal Removing old flooring can reveal underlying issues, such as cracks in the concrete or water damage. Start by clearing the space of furniture and personal items to make the job easier. Steps for Flooring Removal: Carpets and padding: Use a utility knife to cut sections for easier removal. Tiles: Break them with a sledgehammer and pry them loose. Hardwood or laminate: Use a pry bar to lift planks carefully. Dispose of the materials responsibly by separating recyclable components, such as wood or tiles. 5. Tackle Wall Removal with Precision Demolishing walls requires care, especially if electrical wiring or plumbing is involved. If you’re removing drywall, start by identifying load-bearing walls and marking areas with wiring. Steps for Wall Demolition: Turn off utilities: Shut off electricity and water to the area. Remove trim and baseboards: Pry them loose to access the wall edges. Break through drywall: Use a utility knife to cut sections, then pull them down with minimal mess. For interior studs, a reciprocating saw can help cut through nails and wood easily. 6. Manage Waste Disposal Demolition generates a significant amount of waste. In London, Ontario, there are specific regulations for disposing of construction debris. Waste Management Tips: Rent a dumpster for large-scale demolition projects. Separate hazardous materials for proper disposal. Contact local recycling centers for items like metal studs or wood. 7. Consider Hiring Professionals While DIY demolition can save money, hiring professionals ensures safety and efficiency, especially for large or complex projects. Experienced contractors can handle unexpected challenges like structural issues or hazardous materials with ease. 8. Prepare for Renovation Once the demolition is complete, clean the space thoroughly and inspect it for issues such as water leaks or uneven surfaces. This step ensures that your new flooring and walls will be installed on a solid, problem-free foundation. Transform Your Basement with Basement Renovations London Ready to take the first step in transforming your basement? At Basement Renovations London , we specialize in safe, efficient demolition and renovation services to bring your vision to life. From removing outdated materials to installing modern finishes, our team is here to help. Contact us today to schedule a consultation and get started on your basement project!
November 18, 2024
When it comes to basement renovations , one of the most overlooked yet crucial aspects is securing the necessary permits. Whether you're looking to create a cozy family space, a functional home office, or a rental suite, understanding the permit requirements for basement renovations is essential. If you’re in London, Ontario, and planning to transform your basement, here’s everything you need to know about the role of permits in your renovation project. Why Are Permits Necessary? Permits are more than just paperwork—they are a critical part of ensuring that your basement renovation is safe, up to code, and legally compliant. Here’s why permits are important: 1. Ensuring Safety and Compliance Building codes exist to protect the safety of homeowners. Permits ensure that your renovation complies with local building codes and standards. This includes everything from electrical wiring and plumbing to structural changes and fire safety measures. Without the proper permits, you may end up with a basement that poses risks to you and your family. 2. Avoiding Legal Issues If you proceed with a basement renovation without the required permits, you could face legal consequences. The City of London can issue fines, and you may be required to halt the renovation or even undo completed work. Having permits in place helps you avoid these legal hassles. 3. Increasing Property Value A properly renovated basement can significantly increase the value of your home. However, if you ever decide to sell, buyers and real estate agents will likely ask for proof of permits for any major renovations. A lack of permits can lead to a decrease in property value or complications during the sale. 4. Insurance Coverage Home insurance policies often require that renovations are done according to code. If an issue arises—like flooding or fire damage—in an unpermitted basement, your insurance provider may refuse to cover the damages. Permits protect you from this risk. When Are Permits Required for Basement Renovations? Not all basement renovations require a permit, but many do. Here’s a breakdown of the most common projects that typically need a permit in London, Ontario: 1. Structural Changes If your renovation involves removing or adding walls, creating new windows, or altering the structure in any way, you’ll need a permit. This ensures the integrity of your home’s foundation and overall stability. 2. Electrical Work Adding new outlets, wiring, or lighting fixtures requires an electrical permit. This is to ensure all electrical work meets safety standards and reduces the risk of fire hazards. 3. Plumbing If you’re adding a bathroom, kitchen, or laundry room in your basement, a plumbing permit is required. This covers new plumbing installations, relocating pipes, or installing new fixtures. 4. HVAC and Ventilation If your basement renovation includes adding new heating, cooling, or ventilation systems, you’ll need a permit to ensure they are installed correctly and safely. 5. Egress Windows and Exits Creating an additional bedroom in your basement? You’ll need an egress window that meets specific size requirements to ensure a safe exit in case of emergency. A permit is needed to install these windows. 6. Fire Safety and Insulation Installing insulation, drywall, or fire-rated materials may require a permit to ensure your basement meets fire safety regulations. How to Obtain Permits for Basement Renovations in London, Ontario The process of obtaining permits can seem daunting, but it’s a necessary step to ensure your renovation is safe and compliant. Here’s how to get started: 1. Consult with a Professional Before you begin your basement renovation, consult with a professional contractor who is familiar with local building codes and permit requirements. They can guide you through the process and even handle the permit application on your behalf. 2. Submit Your Permit Application You’ll need to submit a permit application to the City of London’s Building Division. This often includes detailed plans of your renovation, including layouts, materials, and any structural changes. The city will review your plans to ensure they meet local codes. 3. Schedule Inspections Once your permit is approved, you’ll need to schedule inspections at various stages of the renovation. These inspections ensure that the work is being done correctly and according to code. Common inspections include framing, electrical, plumbing, and final completion. 4. Final Approval After all inspections are passed, you’ll receive a final approval or completion certificate. This document serves as proof that your basement renovation was done legally and safely. Tips for a Smooth Permit Process Navigating the permit process can be challenging, but these tips can help make it smoother: Plan Ahead: Start the permit application process early to avoid delays in your renovation timeline. Work with Licensed Contractors: Hire experienced and licensed contractors who are familiar with local building codes and can assist with permits. Keep Records: Save all permit documents, inspection reports, and approvals. These will be useful for future reference, especially if you decide to sell your home. Be Honest and Transparent: Don’t cut corners or skip permits to save money. This can lead to costly fines and complications down the road. Conclusion Basement renovations are a fantastic way to add value, space, and functionality to your home. However, the importance of obtaining the right permits cannot be overstated. By following the guidelines for permits and working with professionals, you can ensure a smooth renovation process that enhances the safety and value of your property. At Basement Renovations London , we are here to help you navigate every step of your basement renovation, from initial planning to final inspection. Contact us today for a consultation and let us bring your basement vision to life while ensuring everything is up to code.
More Posts

Request a free quote!

Request a free quote!

Contact Us

Share by: