How does electricity get to your house?

May 17, 2022

Let's start by explaining what electricity is. Electricity is a form of energy that can be created and transmitted through a variety of means, one being the copper wires found in most homes connected to an electrical source. In this article we will explain how the electricity from your power company gets to your house or business and how it flows throughout all the wiring inside to make things work.


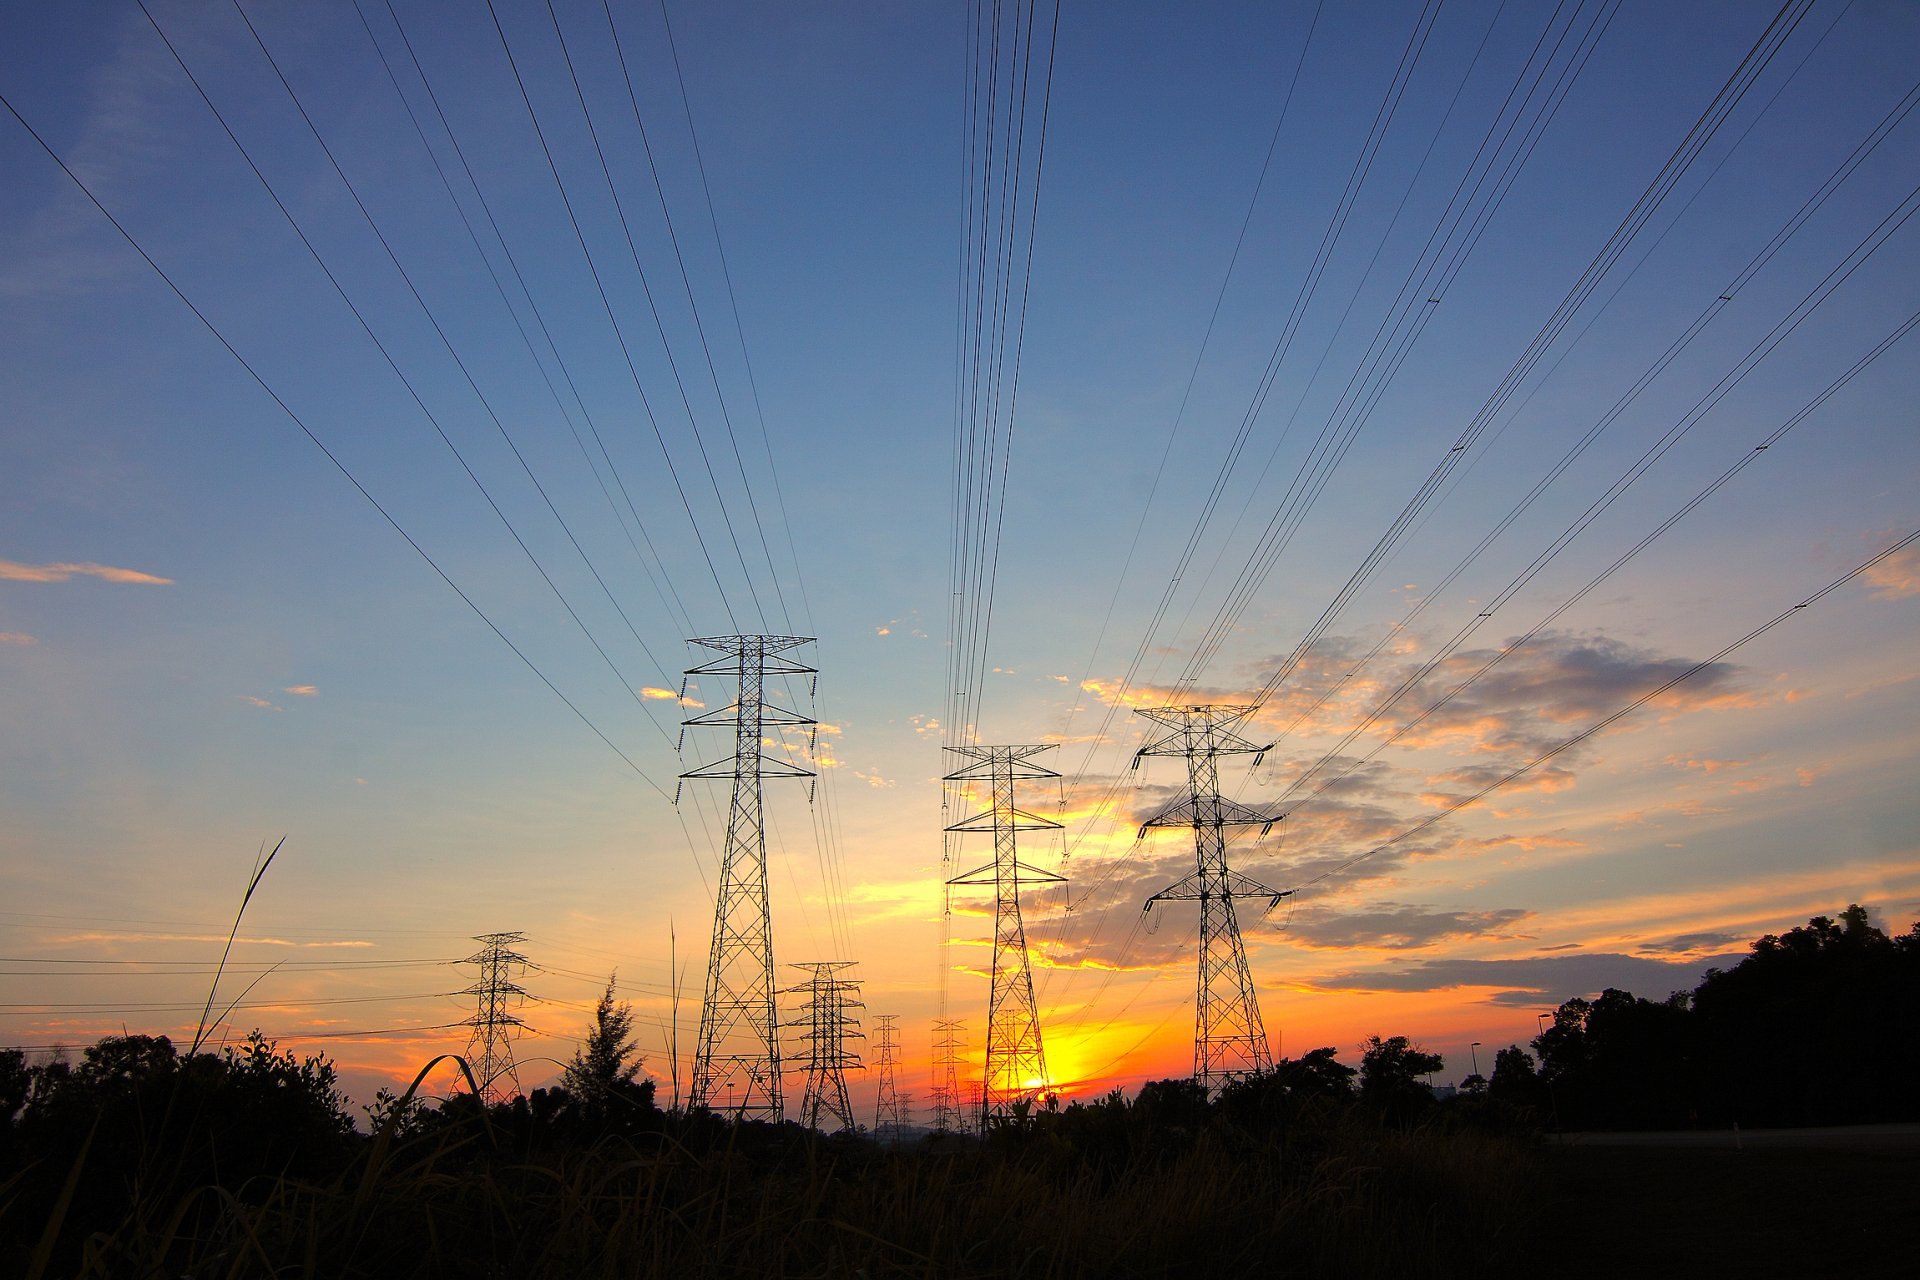
In order for electricity to be used as a usable form of energy, it must first be converted from its usable form into something more useful like a current carried on a wire. This process starts at power plants where generators create electricity then carried on high voltage transmission lines that carry the electricity over long distances, often across several states at very voltages where it is then stepped down to lower voltages for distribution.


      The electricity generated at power plants usually starts out at 765,000 volts or higher and depending on the size of the transmission lines close to where its generated it may start as high as 765,000 volts then drop down to 138,000 volts before reaching a substation. From there it is transformed into smaller stages from 138,000 to 34,500 then finally dropped down one more stage from 34,500 volts to 4,160 then 3,300 before entering the service area where the substations deliver power directly to local transformers near homes and businesses.


These large transformers take in roughly 3-4 kV along with two hot wire carrying lines that run next to each other carrying a third neutral line which gets carried inside to the transformer where it is transformed from 3-4 kV down to 240 volts or 120/240 single phase power. This process of reducing voltage by a factor of 100 occurs at each and every transformer along a loop, making them critical to proper distribution.


      The wire from your house generally starts as 2 hot wires with a ground wire that run together through your breaker panel then eventually branch off into multiple branches that deliver electricity throughout all parts of your home or business. The first stage begins at the main service entrance, beginning as the two hot wires that travel up directly from the service drop which come in via underground conduits connected to either side of this entry point and create what we call a "Tripod" or "T" configuration with the neutral wire running in the middle of it. This point is called a meter which can often hold up to 200 amps of current on each side for commercial services.


      The service entrance brings electricity directly into your home or business, where it branches off into smaller lines that eventually branch off again and again until they reach breakers at every appliance in your home. From here you have control over what gets power and what doesn't using circuit breakers to cut the power off while still leaving some appliances powered on if needed. These circuits are then built up into even larger groups by electricians who specialize in residential wiring jobs to ensure safety during normal operations and emergencies through proper grounding, short-circuiting, and proper wiring from the breaker panel to appliances.


      One of the most important things you will learn about electricity is that it has a very difficult time traveling over long distances for large amounts of power because while electricity can travel great distance through a conductor such as a copper wire, going into another circuit with different voltage levels causes power loss during transmission. For example if line 1 has 240 volts at 50 amps coming out of its service entrance and transformer while next door line 2 only has 120 volts at 25 amps after being transmitted from line 1 down the block, both lines would have similar voltages when entering their respective meter but after traveling from the street to their meters they are now unbalanced and cause power loss in the process. This power loss is called "I2R Loss" which means current squared times resistance. The longer the wire or distance it travels through poor wiring, bad connectors, long distances without proper voltage reductions, etc causes even more power to be lost which just results in higher bills for you with nothing given back for this excessive use of electricity.


      Electricity is very difficult to work with and many people just ignore how dangerous it can be if you don't know what you're doing when trying to install new circuits (Which can often lead to fires), working on appliances, fixing circuit breakers (Overloaded circuits are dangerous because the wires behind your breaker panel contain no more insulation than they need which gets burned away once overloaded past their limits), or even simple tasks like replacing light bulbs. Electricity is very dangerous if you don't know what you're doing so I would recommend never working on anything with it unless an electrician is present who has the proper training to ensure safety.


      The next time you use your computer, flick on a light switch, or even cook food in your kitchen think about how electricity got there and how its gotten to all of the appliances where you are using them at this exact moment. That wire behind your breaker panel made possible by power plants hundreds of miles away gives us the power to work, play, relax, sleep… Life wouldn't be as great without access to electrical power!


If you have a home remodeling project that requires electrical work then our team can help. We have licensed and qualified electricians on our crew who have extensive knowledge and experience when it comes to home electrical services. Give our team a call today and we would be happy to schedule a free in home consultation for your next project.

You might also like

December 2, 2024
Basement renovations are an excellent way to maximize the functionality of your home, and choosing the right windows is a critical part of the process. Basement windows not only enhance natural light and ventilation but also play a key role in energy efficiency, aesthetics, and safety. For homeowners in London, Ontario, selecting the best style of basement windows can significantly impact the success of your renovation. Here’s a guide to help you make the right choice.  Why Basement Window Style Matters Unlike windows in other parts of your home, basement windows often face unique challenges such as limited space, below-grade installation, and moisture exposure. Choosing a style that complements your basement’s needs while adhering to local building codes is essential. Popular Basement Window Styles 1. Hopper Windows Hopper windows are hinged at the bottom and open inward, making them a great choice for basements with limited wall space. Pros : Excellent ventilation. Compact and suitable for small spaces. Provides a tight seal against drafts when closed. Cons : Limited view compared to other window styles. 2. Slider Windows Slider windows glide horizontally, making them ideal for larger basement walls. Pros : Easy to operate. Offers a wider view of the outdoors. Low maintenance due to fewer moving parts. Cons : May not provide as tight a seal as hopper windows. 3. Awning Windows Similar to hopper windows, awning windows are hinged at the top and open outward. Pros : Can remain open during light rain without letting water in. Great for ventilation. Cons : Requires sufficient exterior space to open fully. 4. Egress Windows Egress windows are required by building codes for basements being used as living spaces. They are large enough to serve as an emergency exit. Pros : Essential for safety. Allows ample natural light into the basement. Cons : More expensive to install due to size and code requirements. 5. Fixed Windows Fixed windows do not open but are excellent for providing natural light and enhancing aesthetics. Pros : Energy-efficient due to the absence of moving parts. Ideal for basements where ventilation is not a priority. Cons : No ventilation capability. Factors to Consider When Choosing a Style 1. Purpose of the Basement If your basement is being converted into a bedroom or living area, egress windows are non-negotiable. For storage or utility basements, hopper or fixed windows might suffice. 2. Natural Light Needs Slider and egress windows allow more sunlight, making them perfect for spaces where brightness is a priority. 3. Ventilation Requirements If proper airflow is crucial, consider hopper or awning windows. 4. Energy Efficiency Double-pane or triple-pane glass is recommended for insulation, regardless of the style. 5. Budget Different window styles and sizes come with varying price points. Balancing functionality and cost is key. Enhancing Basement Windows Window Wells : Protect below-grade windows from water and debris while enhancing light. Window Treatments : Opt for moisture-resistant blinds or shades for style and privacy. Security Features : Install locks or reinforced glass for added safety. Why Choose Basement Renovations London? At Basement Renovations London, we understand the intricacies of basement design and window installation. Our team can help you choose, install, and maintain the perfect windows to suit your needs and budget. From meeting local building codes to ensuring flawless installation, we handle it all. Conclusion Choosing the right style of basement windows is more than an aesthetic decision—it’s about functionality, safety, and comfort. Whether you’re looking for increased natural light, improved ventilation, or a safe escape route, there’s a basement window style to fit your space. Contact Basement Renovations London today to discuss how we can help transform your basement into a brighter, more functional part of your home!
November 24, 2024
Basement demolition can be the first step toward transforming an underutilized space into something functional and inviting. Whether you're planning a full renovation or simply refreshing the look of your basement, removing old flooring and walls is often necessary to lay the groundwork. Here are some essential tips for tackling basement demolition effectively and safely. 1. Plan Your Project Thoroughly Before starting demolition, it’s critical to have a clear plan. Identify the areas you’ll be working on, such as specific walls or flooring, and decide whether you’re removing everything or just a section. Evaluate the condition of the materials—old flooring and walls may harbor mold, asbestos, or other hazards that require special handling. Checklist for Planning: Measure the area to estimate material removal. Determine what will stay and what will go (e.g., support walls, electrical wiring). Get the necessary permits if required by local regulations in London, Ontario. 2. Gather the Right Tools and Safety Gear Demolition is hard work and requires specialized tools to complete efficiently. Having the proper equipment on hand ensures a smoother process and minimizes risks. Must-Have Tools: Pry bars: Essential for removing trim and baseboards. Sledgehammers: Useful for breaking through walls. Utility knives: To cut through drywall or carpets. Power tools: Such as reciprocating saws for larger cuts. Safety Gear: Safety goggles and gloves. A dust mask or respirator to protect against debris. Durable work boots with steel toes. 3. Address Potential Hazards Old basements often have hidden issues like lead paint, asbestos in old insulation or tiles, or mold from water damage. Hire professionals to assess the space before demolition begins. Tips for Dealing with Hazards: Test for asbestos and lead before cutting into materials. Use HEPA filters during demolition to minimize dust circulation. Seal off other areas of your home to contain debris. 4. Start with Flooring Removal Removing old flooring can reveal underlying issues, such as cracks in the concrete or water damage. Start by clearing the space of furniture and personal items to make the job easier. Steps for Flooring Removal: Carpets and padding: Use a utility knife to cut sections for easier removal. Tiles: Break them with a sledgehammer and pry them loose. Hardwood or laminate: Use a pry bar to lift planks carefully. Dispose of the materials responsibly by separating recyclable components, such as wood or tiles. 5. Tackle Wall Removal with Precision Demolishing walls requires care, especially if electrical wiring or plumbing is involved. If you’re removing drywall, start by identifying load-bearing walls and marking areas with wiring. Steps for Wall Demolition: Turn off utilities: Shut off electricity and water to the area. Remove trim and baseboards: Pry them loose to access the wall edges. Break through drywall: Use a utility knife to cut sections, then pull them down with minimal mess. For interior studs, a reciprocating saw can help cut through nails and wood easily. 6. Manage Waste Disposal Demolition generates a significant amount of waste. In London, Ontario, there are specific regulations for disposing of construction debris. Waste Management Tips: Rent a dumpster for large-scale demolition projects. Separate hazardous materials for proper disposal. Contact local recycling centers for items like metal studs or wood. 7. Consider Hiring Professionals While DIY demolition can save money, hiring professionals ensures safety and efficiency, especially for large or complex projects. Experienced contractors can handle unexpected challenges like structural issues or hazardous materials with ease. 8. Prepare for Renovation Once the demolition is complete, clean the space thoroughly and inspect it for issues such as water leaks or uneven surfaces. This step ensures that your new flooring and walls will be installed on a solid, problem-free foundation. Transform Your Basement with Basement Renovations London Ready to take the first step in transforming your basement? At Basement Renovations London , we specialize in safe, efficient demolition and renovation services to bring your vision to life. From removing outdated materials to installing modern finishes, our team is here to help. Contact us today to schedule a consultation and get started on your basement project!
November 18, 2024
When it comes to basement renovations , one of the most overlooked yet crucial aspects is securing the necessary permits. Whether you're looking to create a cozy family space, a functional home office, or a rental suite, understanding the permit requirements for basement renovations is essential. If you’re in London, Ontario, and planning to transform your basement, here’s everything you need to know about the role of permits in your renovation project. Why Are Permits Necessary? Permits are more than just paperwork—they are a critical part of ensuring that your basement renovation is safe, up to code, and legally compliant. Here’s why permits are important: 1. Ensuring Safety and Compliance Building codes exist to protect the safety of homeowners. Permits ensure that your renovation complies with local building codes and standards. This includes everything from electrical wiring and plumbing to structural changes and fire safety measures. Without the proper permits, you may end up with a basement that poses risks to you and your family. 2. Avoiding Legal Issues If you proceed with a basement renovation without the required permits, you could face legal consequences. The City of London can issue fines, and you may be required to halt the renovation or even undo completed work. Having permits in place helps you avoid these legal hassles. 3. Increasing Property Value A properly renovated basement can significantly increase the value of your home. However, if you ever decide to sell, buyers and real estate agents will likely ask for proof of permits for any major renovations. A lack of permits can lead to a decrease in property value or complications during the sale. 4. Insurance Coverage Home insurance policies often require that renovations are done according to code. If an issue arises—like flooding or fire damage—in an unpermitted basement, your insurance provider may refuse to cover the damages. Permits protect you from this risk. When Are Permits Required for Basement Renovations? Not all basement renovations require a permit, but many do. Here’s a breakdown of the most common projects that typically need a permit in London, Ontario: 1. Structural Changes If your renovation involves removing or adding walls, creating new windows, or altering the structure in any way, you’ll need a permit. This ensures the integrity of your home’s foundation and overall stability. 2. Electrical Work Adding new outlets, wiring, or lighting fixtures requires an electrical permit. This is to ensure all electrical work meets safety standards and reduces the risk of fire hazards. 3. Plumbing If you’re adding a bathroom, kitchen, or laundry room in your basement, a plumbing permit is required. This covers new plumbing installations, relocating pipes, or installing new fixtures. 4. HVAC and Ventilation If your basement renovation includes adding new heating, cooling, or ventilation systems, you’ll need a permit to ensure they are installed correctly and safely. 5. Egress Windows and Exits Creating an additional bedroom in your basement? You’ll need an egress window that meets specific size requirements to ensure a safe exit in case of emergency. A permit is needed to install these windows. 6. Fire Safety and Insulation Installing insulation, drywall, or fire-rated materials may require a permit to ensure your basement meets fire safety regulations. How to Obtain Permits for Basement Renovations in London, Ontario The process of obtaining permits can seem daunting, but it’s a necessary step to ensure your renovation is safe and compliant. Here’s how to get started: 1. Consult with a Professional Before you begin your basement renovation, consult with a professional contractor who is familiar with local building codes and permit requirements. They can guide you through the process and even handle the permit application on your behalf. 2. Submit Your Permit Application You’ll need to submit a permit application to the City of London’s Building Division. This often includes detailed plans of your renovation, including layouts, materials, and any structural changes. The city will review your plans to ensure they meet local codes. 3. Schedule Inspections Once your permit is approved, you’ll need to schedule inspections at various stages of the renovation. These inspections ensure that the work is being done correctly and according to code. Common inspections include framing, electrical, plumbing, and final completion. 4. Final Approval After all inspections are passed, you’ll receive a final approval or completion certificate. This document serves as proof that your basement renovation was done legally and safely. Tips for a Smooth Permit Process Navigating the permit process can be challenging, but these tips can help make it smoother: Plan Ahead: Start the permit application process early to avoid delays in your renovation timeline. Work with Licensed Contractors: Hire experienced and licensed contractors who are familiar with local building codes and can assist with permits. Keep Records: Save all permit documents, inspection reports, and approvals. These will be useful for future reference, especially if you decide to sell your home. Be Honest and Transparent: Don’t cut corners or skip permits to save money. This can lead to costly fines and complications down the road. Conclusion Basement renovations are a fantastic way to add value, space, and functionality to your home. However, the importance of obtaining the right permits cannot be overstated. By following the guidelines for permits and working with professionals, you can ensure a smooth renovation process that enhances the safety and value of your property. At Basement Renovations London , we are here to help you navigate every step of your basement renovation, from initial planning to final inspection. Contact us today for a consultation and let us bring your basement vision to life while ensuring everything is up to code.
More Posts

Request a free quote!

Request a free quote!

Contact Us

Share by: